CLICK HERE FOR FREE BLOGGER TEMPLATES, LINK BUTTONS AND MORE! »

Just a Note

Thanks so much for visting me.

Please leave a comment to say hello or sign up to follow my blog.

Sunday, 5 December 2010

Tartan Stamper's Christmas Blog Hop 2010

Good Morning and thanks for stopping in on the Tartan Stamper's Christmas Blog Hop 2010.

If you have joined me from Diane's Blog - welcome or if you have started the hop here enjoy the trip!

Diane created gorgeous projects, as always, and I hope that you like my Christmas offerings.

I have used mainly a Simply Scrappin' Christmas Jingle Kit with the addition of ribbon, stamps and Old Olive Card.

These kits are fantastic value for money as you can make LOADS of cards and scrapbooks pages with all the elements.


The large box is made from an A4 piece of card, the middle size from an A5 piece of card and the smallest is made from an A6 piece of card.

Here are the instructions to make these cute little gift / treat boxes. I have given Imperial and Metric measurements.


INSTRUCTIONS

IMPERIAL

A4 - Short side - score 2" from each side
Long side - score at 2", 51/2", 71/2", 11"
Layer 1 size - 4 1/16" x 3 1/4"
Layer 2 size - 3 13/16 x 3"


A5 - Short side - score 1 1/2" from each side
Long side - score at 1 1/2", 4", 51/2", 8
Layer 1 size - 2 5/8" x 2 1/4"
Layer 2 size - 2 3/8" x 2"


A6 - Short side - score 1" from each side
Long side - score at 1", 2 1/2", 3 1/2", 5
Layer 1 size - 1 1/4" x 1 15/16"
Layer 2 size - 1" x 1 11/16"


METRIC


A4 - Short side - score 5cm from each side
Long side - score at 5cm, 14cm, 19cm, 28cm
Layer 1 size - 10.5cm x 8.4cm
Layer 2 size - 9.5cm x 7.4cm


A5 - Short side - score 4cm from each side
Long side - score 4cm, 10cm, 14cm, 20cm
Layer 1 size - 6.4cm x 5.5cm
Layer 2 size - 5.9cm x 5cm


A6 - Short side - score 2.5cmfrom each side
Long side - score at 2.5cm, 6.5cm, 9cm, 13cm
Layer 1 size - 5cm x 3.5cm
Layer 2 size - 4.5cm x 3cm


1. Using the above measurements score your card using a bone folder.

The pencil marks are just for illustration of score lines.

2. Cut the score lines where shown below and how with the edges taken off the top flaps - I cut either side of the score mark so that when the box is constructed there are no bulging edges.


3. Apply sticky strip to the side flap.


4. Turn box over so you can see what will become the inside of the box. Apply sticky strip to the bottom flaps as shown - where the tape is directly along the edge will be the last flap to fold in. By doing it this way gives a nice front to the box and no loose edges showing.


5. Crease all the score lines and fold the box in half.


6. Remove the tape liner and fold the bottom of the box up to stick - this gives a neat edge and if score correctly will meet exactly.


7. Remove the tape liner from the bottom flaps and fold in.

8. Place a couple of bits of Sticky strip on the front and back centre to help stick the ribbon.


9. Cut ribbon to length required fold in half and hold top ends. Remove tape liner from front and back and place in the loop of ribbon. Make sure ribbon stuck to sticky strip.


10. Tie knot in ribbon to close, trim ends neatly. Decorate front of box.


To visit Liz who is next on the hop click HERE. Enjoy her fabby creations and hope to see you back at the end of the hop.

Please leave any comments as they are much appeciated.

Happy Stampin'

Elaine
xx

Monday, 8 November 2010

Convention Update - SO THRILLED

Well, I could have done with more sleep this morning to help recover from the weekend.

I will try and post some pictures of swaps that I received and other piccies too once I have unpacked my camera!

I would like to take this opportunity to THANK my customers and friends for their support and custom over the last year as without them I would not have made it into the:

TOP 25 DEMONSTRATORS IN THE UK

I was placed 16th out of 500 demonstrators in the UK. Still amazed I acheived this and have a new shiny pin for my apron and certificate.

I would like to congratulate my Upline Dawn for being placed 6th and my sideline (SU Sister and Convention Roomie) Kara for being placed 25th.

Will try and find some pictures of the Gala Dinner - I was head to toe in Ness Clothing - for those that know me - no surprise there!

I think I was more excited for them. Kara almost didn't come to convention and had no jewellery with her to walk the stage. Nobody knows where anyone is placed until you get to convention so that made it really exciting. Congratulations to all the other winners too.

Thanks to Dawn for her lovely gifts - very kind of you.

It was great spending time with the rest of the Tartan Stamper team. We laughed, eat, swapped, barely slept, cheered, stamped and had a great time. Thanks girls for the company and memories.

Thanks for stopping by.

Elaine

xxxxx

Sunday, 7 November 2010

Stampin' Up! Convention - Post #5

Travelling home today so will post swaps that i recieved over the next week.

This is the a Card Candy swap I joined in with - bascially they are toppers for cards.

SUPPLIES:
Stamp Set: Vintage Vogue, Tiny Tags
Card: Night of Navy, Marina Mist, Whisper White, Always Artichoke
Ink: Night of Navy, Marina Mist, Whisper White, Always Artichoke
Accessories: Various punches, Basic rhinestone jewels, pearls

Thanks for stopping by.

Happy Stampin'

Elaine

xx

Saturday, 6 November 2010

Stampin' Up! Convention - Post #4

This is another 3D swap that I organised. It contains a little bag of sweets - great for parties.


SUPPLIES:
Stamp Set: Make a Monster, Cute by the Inch
Card: Pacific Point, Pear Pizzazz, Whisper White
Ink: Real Red, Pacific Point, Pear Pizzazz
Accessories: Celebrations DSP, Pear Pizzazz ribbon


Thanks for stopping by and come back tomorrow for another post of convention swaps.

Happy Stampin'

Elaine

xx

Stampin' Up! Convention - Post #3

This is a 3D swap that I organised. It contains 4 little thank you notes which I will show you next week.


SUPPLIES:
Stamp Set: Growing Green, Occasional Greetings
Card: Crumb Cake, Very Vanilla, Rich Razzleberry, Watercolour paper
Ink: Rich Razzleberry, Old Olive
Accessories: Rich Razzleberry striped grosgrain ribbon, Basic Pearls, dimensionals.


Thanks for stopping by and come back later for another post of convention swaps.

Happy Stampin'

Elaine

xx

Friday, 5 November 2010

Stampin' Up! Covention - Swap Post 2

This is the second of my general swaps.

It is based on a card in the Idea Book and Catalogue - page 50. Have changed the colours used in the book to these.


SUPPLIES:
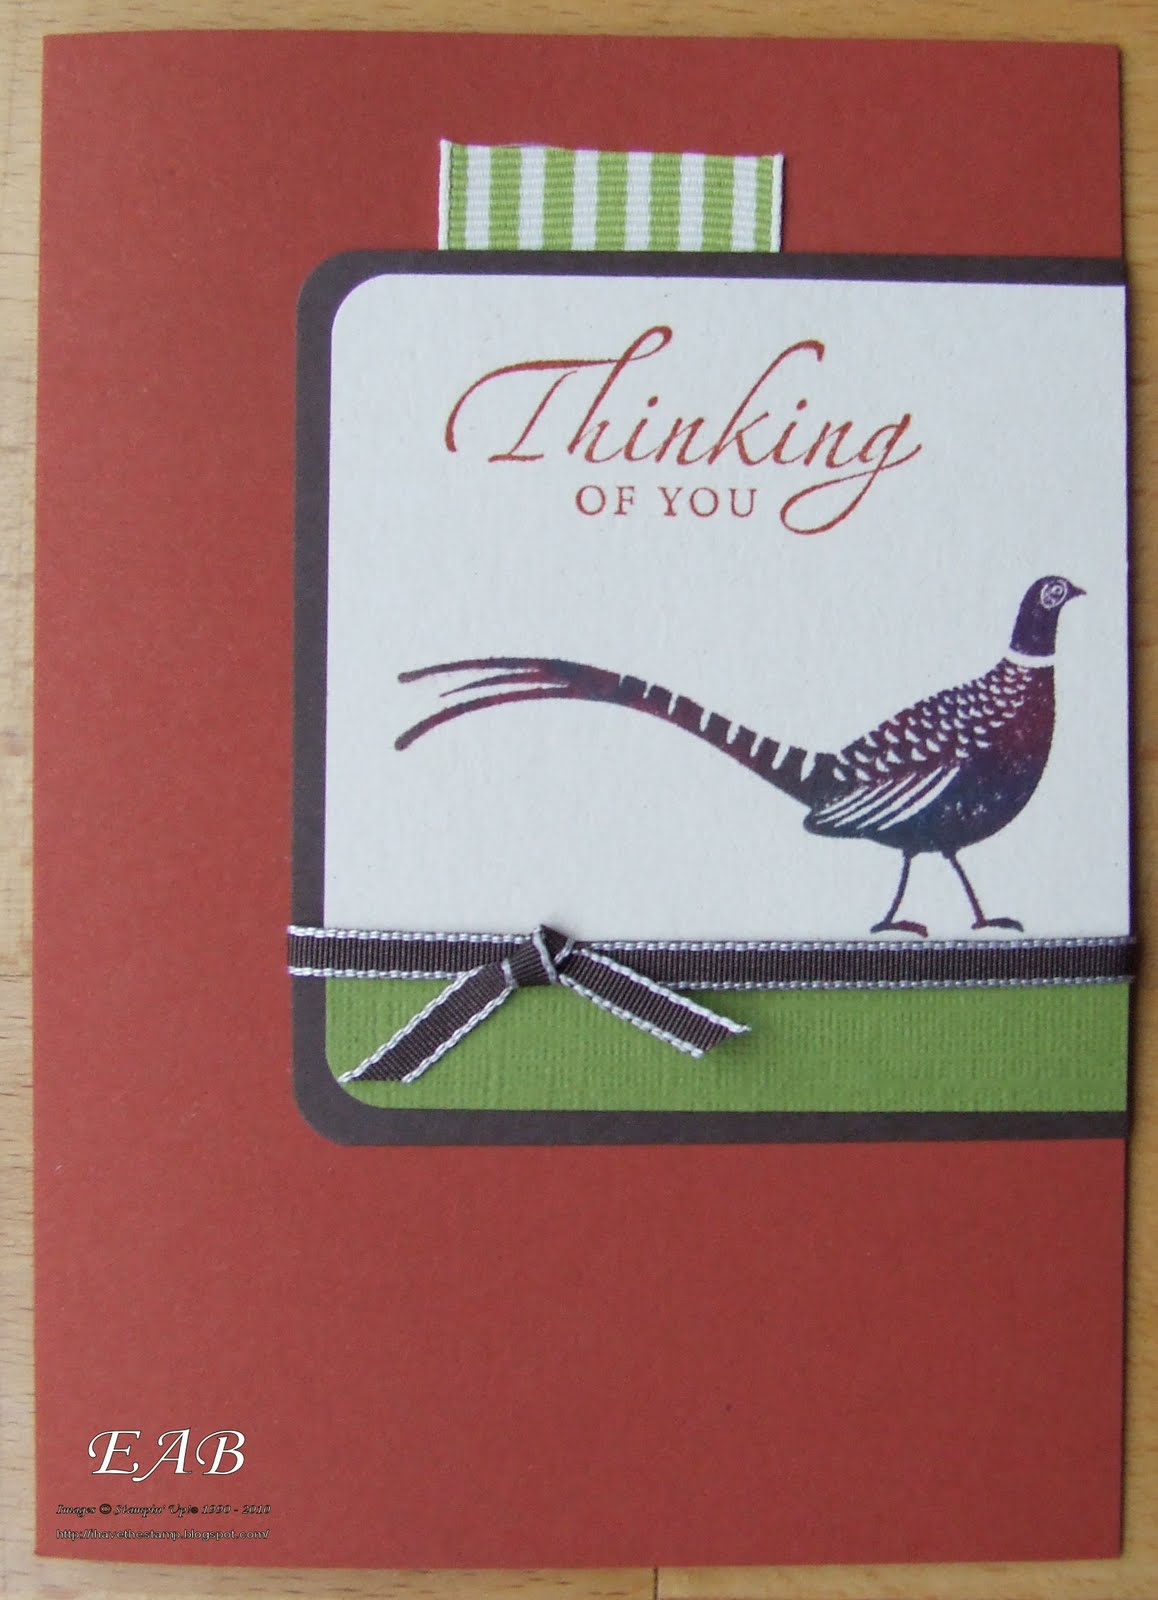
Stamp Set: Autumn Days, Sincere Salutations
Card: Cajun Craze, Old Olive, Early espresso, Naturals Ivory
Ink: Cajun Craze, Chocolate Chip, Elegant Eggplant, Not Quite Navy re-inkers
Accessories: Early Espresso narrow taffeta ribbon, Old Olive striped grosgrain.

Thanks for stopping by and come back tomorrow for another post of convention swaps.

Happy Stampin'

Elaine

xx

Stampin' Up! Convention - Post #1

Well I am in London at the moment so have scheduled this post - if it works!!!

We are having a week off from the Funky Friday Challenges so decied to share my swaps with you.

This is the first of my general swaps. This is not quite the colours I used - I replaced the Rich Razzleberry with the NEW Marina Mist.


SUPPLIES:
Stamp Set: Medallion Background, Sincere Salutations
Card: Crumb Cake, Whisper White, Basic Black
Ink: Rich Razzleberry, Black Staz on
Accessories: 5/8" Rich Razzleberry grosgrain ribbon, silver brads, piercing tool, mat pack.


Tonight is the Gala Dinner so when I return I will post some photos of the night.

Thanks for stopping by and come back later for another post of convention swaps.

Happy Stampin'

Elaine

xx